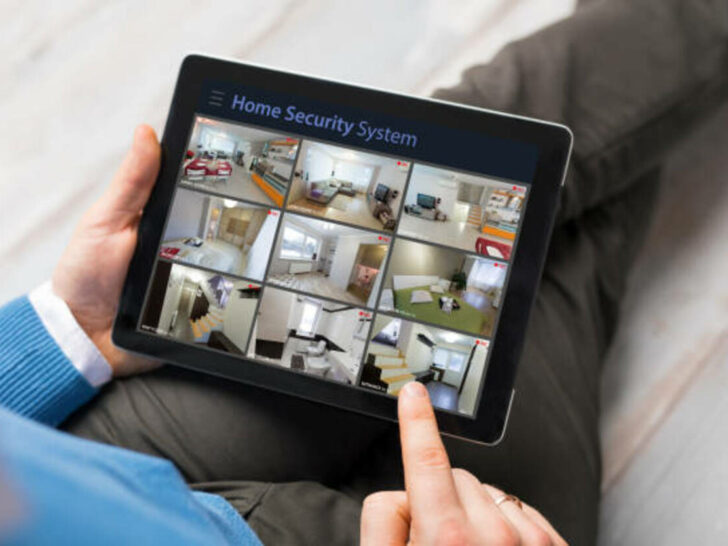
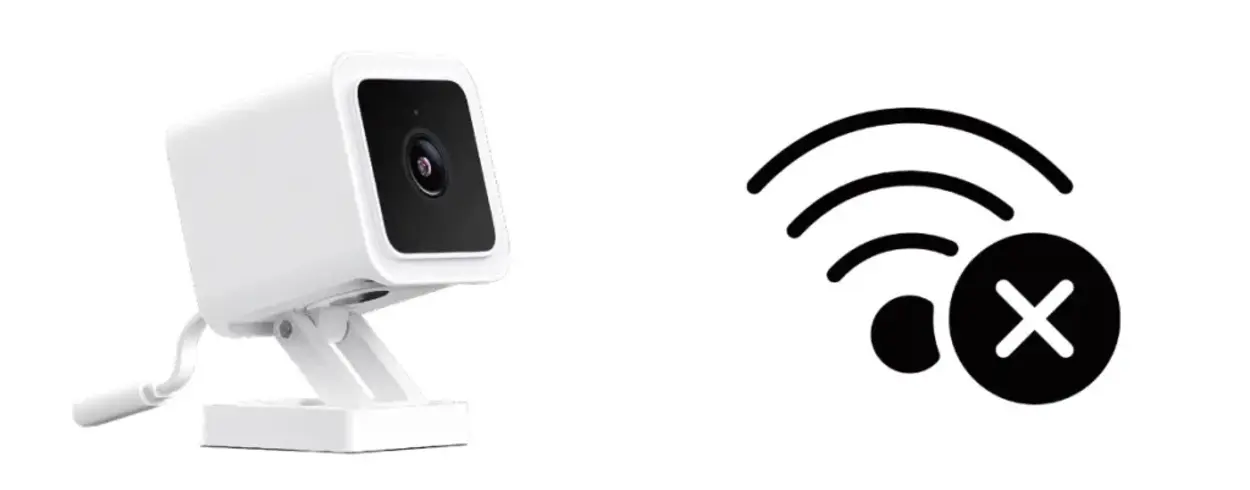
After buying a security camera, connecting to the WiFi network is your first step. It allows you to see live footage of your camera while you are away.
Connecting your security camera to Wi-Fi involves following the instructions in the camera’s manual. In general, you’ll power on the camera, connect to its temporary network (if applicable), and use the manufacturer’s app or a web interface to enter your home Wi-Fi credentials. Ensure your Wi-Fi is 2.4 GHz and place the camera for a strong signal.
Additionally, it facilitates alerts and motion detection along with recording storage in the cloud or a local storage device. Sometimes, you do face difficulties connecting the security camera to WiFi. No worries; I’ll discuss all the steps for connecting security cameras to the WiFi network today.
In this post, you’ll get answers to all your queries related to it.
Let’s get to it already.
By continuing to use this website you agree to our Terms of Use. If you don't agree to our Terms, you are not allowed to continue using this website.
Process for Connecting Security Camera to WiFi
1. Select the Best Security Camera
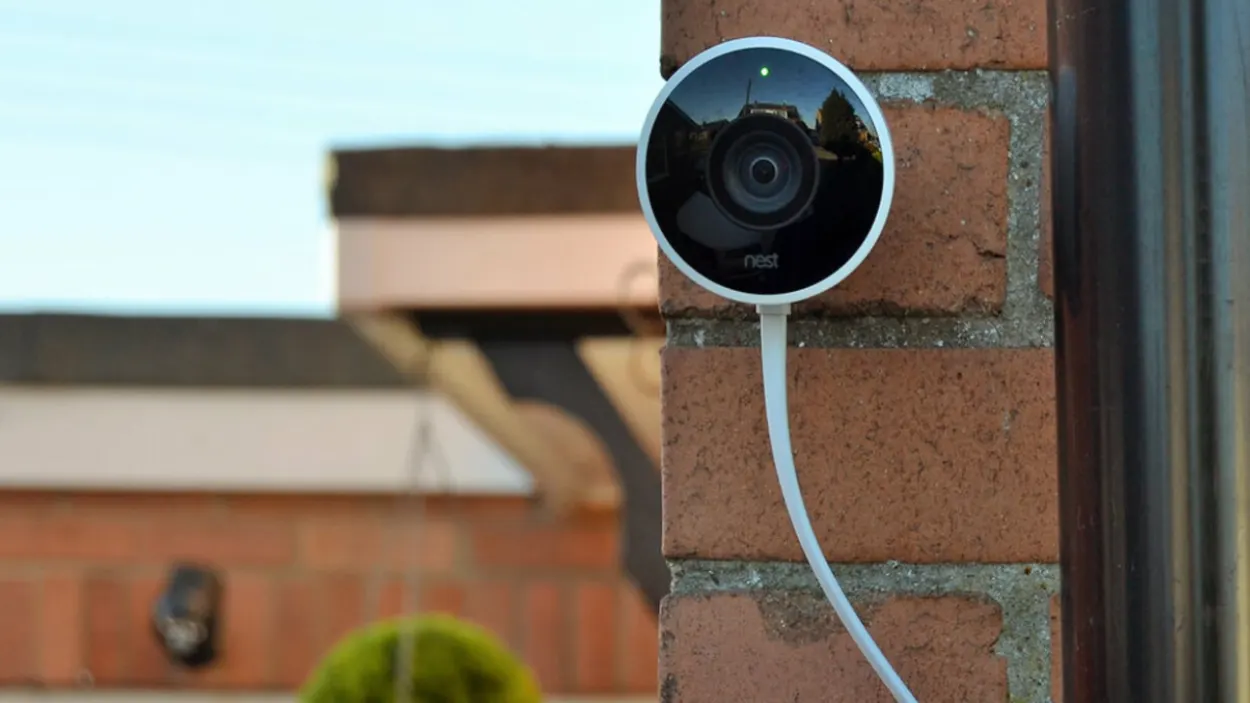
First, you must choose the right security camera depending on your needs. There are several cameras on the market with distinct features and characteristics. Some of them are intended for internal use, while others are outdoor.
Moreover, some cameras include built-in WiFi, while others require an additional WiFi adaptor. Before purchasing a camera, it is important to consider your objectives and demands.
There are several variables to consider when choosing a camera, such as resolution, field of view, night vision capabilities, and motion detection sensitivity.
Along with these factors, the camera’s size and style and extra features such as pan and tilt, two-way audio, and cloud storage shall not be neglected.
2. Installing the Security Camera
After choosing the camera that meets your needs and requirements, the next step is to set it up. Installation instructions differ depending on the type of camera. Follow the instructions in the manual carefully when installing your security camera.
- The installation process comprises the following steps:
- Place the camera in a specified area
- Connect to a power source
- Customize the camera settings
You may also need to install any required software or applications on your computer or mobile device.
3. Connect the Camera to the WiFi Network
The third and most important step for enjoying a security camera’s luxuries is connecting to a WiFi network. It’s our topic of discussion today.
Once you’ve installed your security camera, connect it to your WiFi network and get remote access, personalized motion detection features, and store recordings on your local storage.
Follow these steps to connect the security camera to your WiFi:
- Navigate to the camera’s settings menu using a web browser or mobile app.
- Find the “WiFi” or “Wireless” options. This might be found in the “Network” or “a ” section.
- Choose your WiFi network from the options list. You must input the password if your network is password-protected.
- Allow the camera to connect to your wireless network.
- Depending on your network speed, this might take a few minutes.
- When you connect the camera to your WiFi network, you should see a confirmation message on your screen.
4. Testing & Monitoring the Camera
Now that you’ve connected the security camera to WiFi, test and monitor it to ensure it’s connected properly. You can do it by examining live video footage and checking if you receive notifications when motion is detected.
Furthermore, it is imperative to protect your camera once it has been linked to your WiFi network and is operational. This will prevent unauthorized access to yours.
Configure any additional features or settings for your camera. Depending on the brand of your camera, you may be able to customize your home security system with motion detection, alarms, and other options.
Key Steps in Connecting A Security Camera to a WiFi Network
| Step | Action |
|---|---|
| 1 | Locate the Wi-Fi network name (SSID) and password for your router. |
| 2 | Locate the WiFi network name (SSID) and password for your router. |
| 3 | Power on your security camera and locate the WiFi setup button. |
| 4 | Press and hold the WiFi setup button on the camera until the LED light blinks rapidly. |
| 5 | Open the Wi-Fi settings on your mobile device or computer and select the camera’s WiFi network from the available networks list. |
| 6 | Open a web browser and navigate to the camera’s IP address. |
| 7 | Enter the camera’s default password (if prompted) and connect to the camera’s WiFi network. |
| 8 | Enter the camera’s login credentials (if prompted) and select the WiFi network you want to connect to. |
| 9 | Enter the WiFi network password and save the settings. |
| 10 | Wait for the camera to reboot and connect to the WiFi network. |
Patents & Trademarks
Patents and trademarks are vital for firms that manufacture security cameras and WiFi connections. These organizations guarantee that they may safeguard their discoveries and designs and prohibit others from utilizing them without permission.
Companies in the security camera business seek patents and trademarks for their innovative camera designs, software, and networking capabilities.
Arlo Technologies
Arlo Technologies, Inc. has secured multiple patents on security cameras and WiFi connectivity. Arlo Technologies has received many patents from the United States Patent and Trademark Office (USPTO) for camera systems and wireless communication technologies.
Among these patents is one for a “camera with privacy features,” which allows users to disable specific camera capabilities. It is a security system with centralized processing and automatic arming and disarming. These patents demonstrate Arlo’s commitment to innovation in security cameras.
Google Nest (Nest Labs)
Nest Labs was acquired by Google in 2015 and rebranded as Google Nest, which now offers all of Google’s home electronic products.
Nest Labs, Inc. has secured patents on security cameras and WiFi connectivity.
Nest Labs has received patents from the USPTO for various camera-focused innovations, including a “system for automatically calibrating a camera” and a “method and system for remote configuration of a security camera.
“These patents demonstrate Nest Labs’ focus on developing solutions that improve the usability and functionality of security cameras.”

ADT Inc.
Companies in the security camera sector seek trademarks and patents to protect their brand and product names. For instance, ADT Inc. has filed various trademarks relating to its security camera equipment with the Securities and Exchange Commission (SEC), including the “ADT Pulse” and “ADT Command” brands.
These trademarks help ADT Inc. establish a recognizable brand and defend its goods against unauthorized use by competitors. Patents and trademarks are critical in the security camera sector.
This is because they allow firms to protect their intellectual property and prohibit others from utilizing their products without permission.

Did You Know
- Studies suggest a significant deterrent effect from visible security cameras.
- Smart cameras with motion detection, night vision, and two-way audio are gaining popularity, enhancing functionality and remote monitoring capabilities.
- Security cameras are increasingly integrating with smart home systems, allowing for automation and voice control.
- The future of security cameras will likely see advancements in smart features, privacy considerations, and integration with other smart technologies.
FAQ
How can I determine whether or not my security camera is compatible with my WiFi network?
Check your security camera’s specs to discover what WiFi networks it accepts. Most cameras can connect to 2.4 GHz WiFi networks, but some can also connect to 5 GHz networks.
Verify that your WiFi network supports your camera’s frequency band.
Can I link my security camera to WiFi using a mobile hotspot?
You may link your security camera to WiFi using a mobile hotspot. However, remember that depending on the camera’s settings and usage, this may consume a significant amount of data.
Is a computer required to connect my security camera to WiFi?
No, a computer is not required to connect your security camera to WiFi. Mobile devices or tablets can connect to WiFi for most cameras.
How can I tell whether my security camera is WiFi enabled?
Check the camera’s settings or the manufacturer’s app if it’s linked to WiFi. You may also be able to determine whether the camera’s LED lights are blinking or whether it is transferring data over the network.
For more information, you can watch the video below:
The Bottom Line
In conclusion, I’d like to say that,
- Connecting a security camera to WiFi may be difficult, but it can be completed fast and effortlessly using the correct tools and information. Before you begin, double-check that your security camera is compatible with your WiFi network and that you have the appropriate access credentials and passwords for your network.
- Once you’ve gathered all the necessary information, setting up your camera for WiFi is simple. When connecting a security camera to WiFi, remember that the camera’s placement can significantly impact the quality of the connection. It’s recommended to place the camera in an area with an excellent WiFi connection and no obstacles or interference. Furthermore, be aware of potential bandwidth constraints to link numerous cameras to the same network.
- You should optimize your network for additional devices. Connecting a security camera to WiFi is critical in establishing a dependable and successful home security system.
Other Articles
- Disable Audio Description on Disney+ (Silence the Narration)
- Ring Camera Not Connecting to WiFi? (How to Fix It)
- Vizio TV Not Connecting to WiFi (Quick & Easy Fix)
Click here to view the Visual Story Version of this Article.