
I’ve been eager to bring some automation into my home, not just for the cool factor but also to make life a bit easier and save on energy. The idea of managing my lights remotely, setting up different lighting moods, and having them follow my daily schedule sounded like a smart move in our fast-paced world.
Then, I stumbled upon the Lutron Claro Smart Switch. It’s known for being easy to set up and working smoothly with the Lutron app, which got me excited. This smart switch looked like it could be the perfect addition to my home, promising to change the way I deal with lighting.
I’m here to share my experience with the Lutron Claro Smart Switch, from the initial setup to how it makes my daily life more comfortable and efficient. Let’s explore together how this device can work in your living space in a practical way.
| Key Steps | Description |
| Pre-Installation | 1. Verify the presence of a neutral wire. 2. Ensure no electricity in the box for safety. |
| Wiring the Switch | 1. Understand load and line sides. 2. Label and identify important wires. 3. Establish proper connections and safety. |
| Installation | 1. Place the switch securely in the electrical box. 2. Confirm a level, flush position. |
By continuing to use this website you agree to our Terms of Use. If you don't agree to our Terms, you are not allowed to continue using this website.
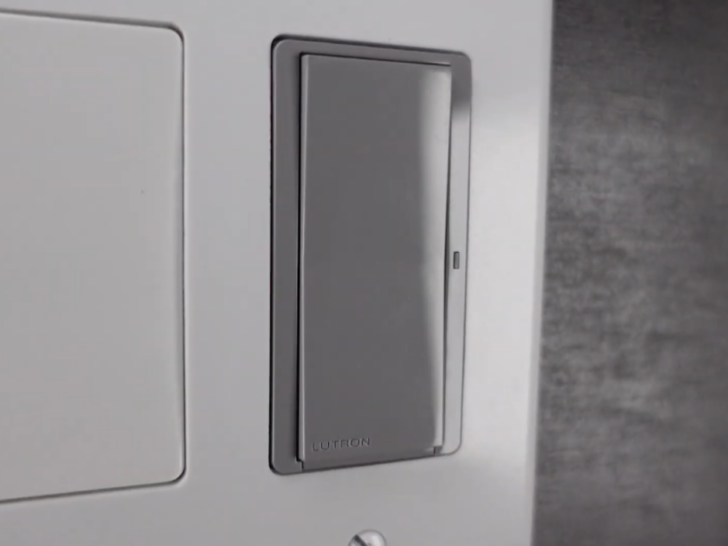
Lutron Claro Smart Switch
The Lutron Claro Smart Switch is a modern electrical switch designed to offer advanced control and automation for your lighting. It allows you to remotely manage your lights using a smartphone or smart home system.
Key features of the Lutron Claro Smart Switch include the ability to create custom lighting scenes, set schedules for your lights, and adjust the brightness to suit different moods and occasions.
Pre-Installation Considerations
Before beginning the installation of your Lutron Claro smart switch, it’s important to go through a series of pre-installation considerations to ensure a smooth and safe setup process. You can also check the guide.
- Firstly, check if your electrical box has a “neutral wire.” The Lutron Claro switch needs this wire to work. It’s like the road that lets electricity flow smoothly.
- Safety is super important. Before you do anything, ensure there’s no electricity in the box. You can use a special tool to check. Turning off the power is essential to avoid accidents.
- See how much room is inside the electrical box. There should be enough space for the switch and its wires. It shouldn’t be too crowded in there.
- To make things simple, get all the tools and materials you’ll need. This includes things like wire connectors, screwdrivers, pliers, and, of course, the Lutron Claro switch itself. Having everything ready makes the job easier.
Wiring the Lutron Claro Smart Switch
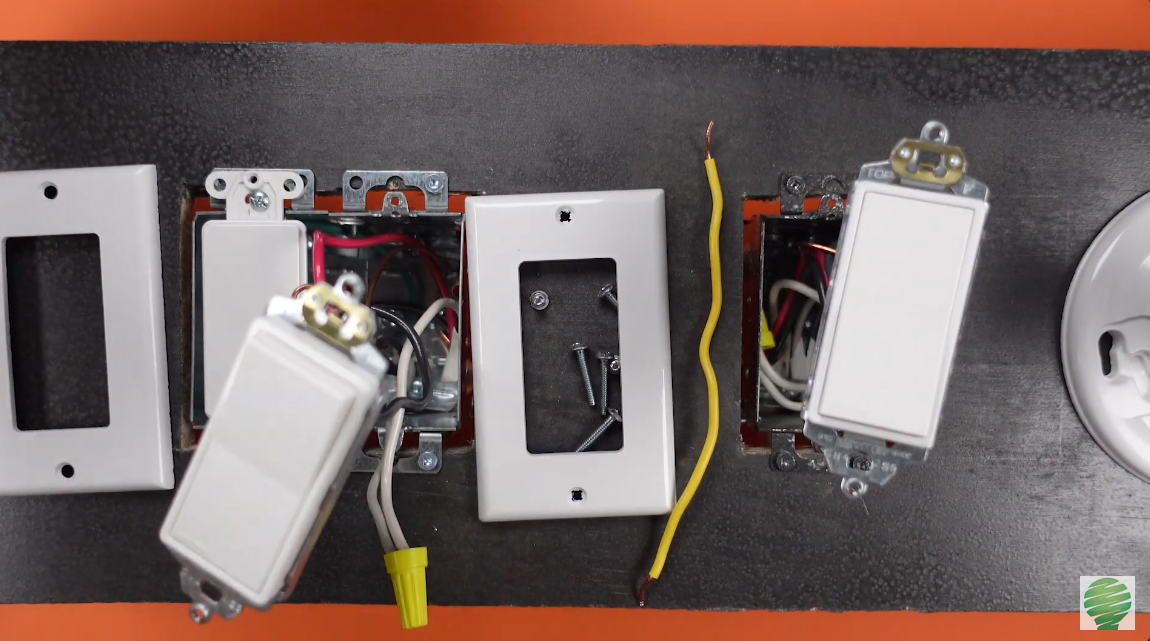
When you’re installing your Lutron Claro smart switch, it’s important to follow some simple steps to connect the wires correctly. Here’s how to do it:
Differentiate between the load side and line side: Start by understanding there are two sides, the load side and the line side. Think of the load side as being closer to the bulb, and the line side is a bit further away. Knowing this helps you connect things the right way.
Identify and mark the relevant cables: Figure out which cables are important. It’s a good idea to mark them so you don’t mix them up. Marking the cables helps prevent confusion during installation.
Connect the white wire to the neutral: Take the white wire and connect it to the neutral wire. Think of this as making sure the electricity has a path to return safely.
Connect the green wire to the ground: The green wire should be connected to the ground. This is all about safety. It provides a safe route for electricity to escape if there’s a problem.
Use wire nuts to secure connections: Wire nuts keep the wires together. They make sure your connections stay safe and secure.
Connect specific wires to the Lutron switch: Finally, attach the right wires to the Lutron switch. This step ensures that everything works as it should.
Installing the Lutron Claro Smart Switch
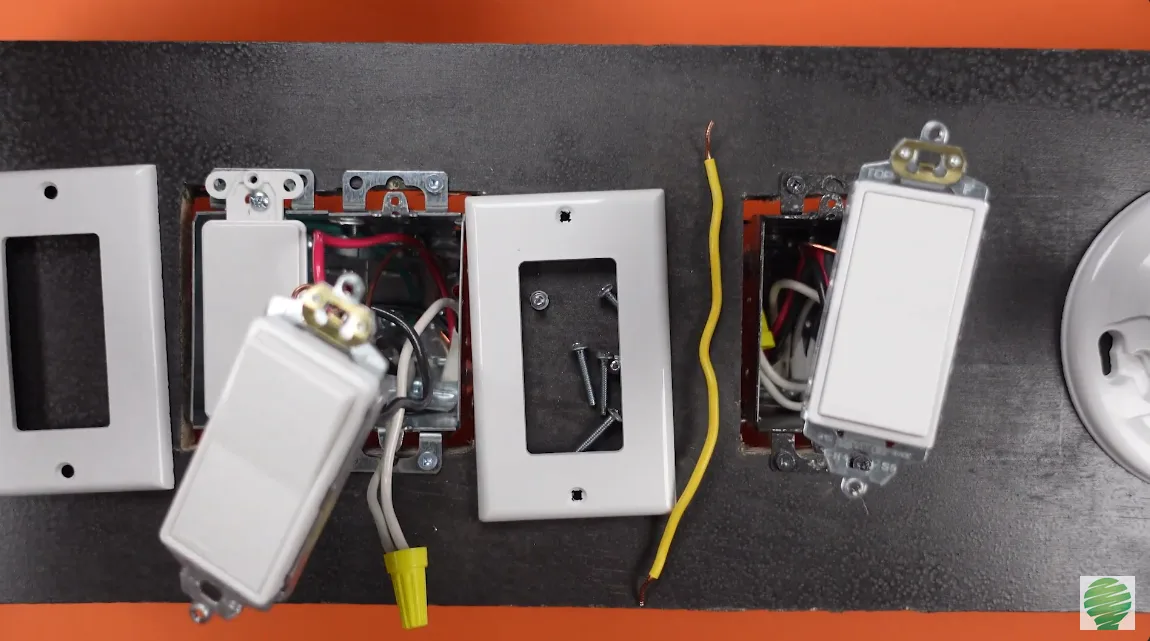
Once you’ve successfully connected the wires, it’s time to install your Lutron Claro Smart Switch in a few simple steps:
Secure the switch in the electrical box: Gently place the switch into the electrical box. With the help of screws, place it securely. This step ensures the switch stays firmly in the box.
Ensure the switch is flush and level: Check that the switch is flat against the wall, not tilted or crooked. It should be perfectly level. This not only makes it look neat but also ensures it functions correctly.
Manage and organize the connected cables: Take a moment to organize the wires inside the electrical box. Ensure they are not tangled or bunched up. Proper cable management keeps everything tidy and helps prevent any issues with the connections.
Attach the switch cover plate: The final touch is to put on the switch’s cover plate. It’s like giving your switch a hat. This step completes the installation, making it look polished, and also serves to protect the switch.

Lutron App Setup
Getting your Lutron Claro Smart Switch to work with the app is an easy process. Following is an easy explanation of what setup to do:
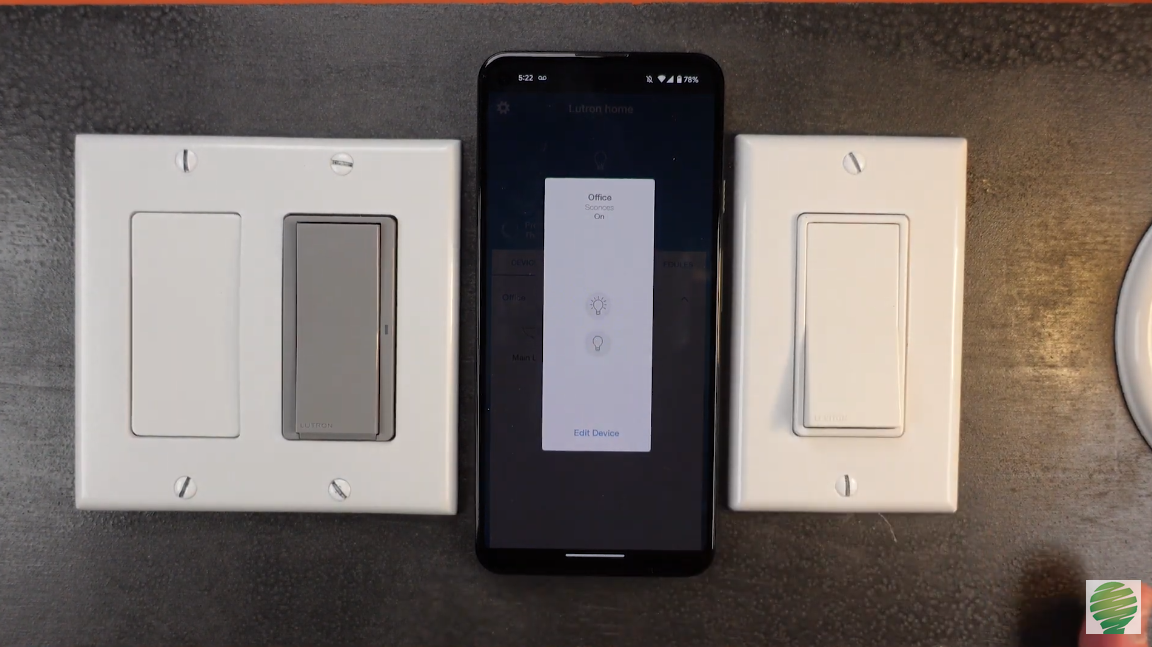
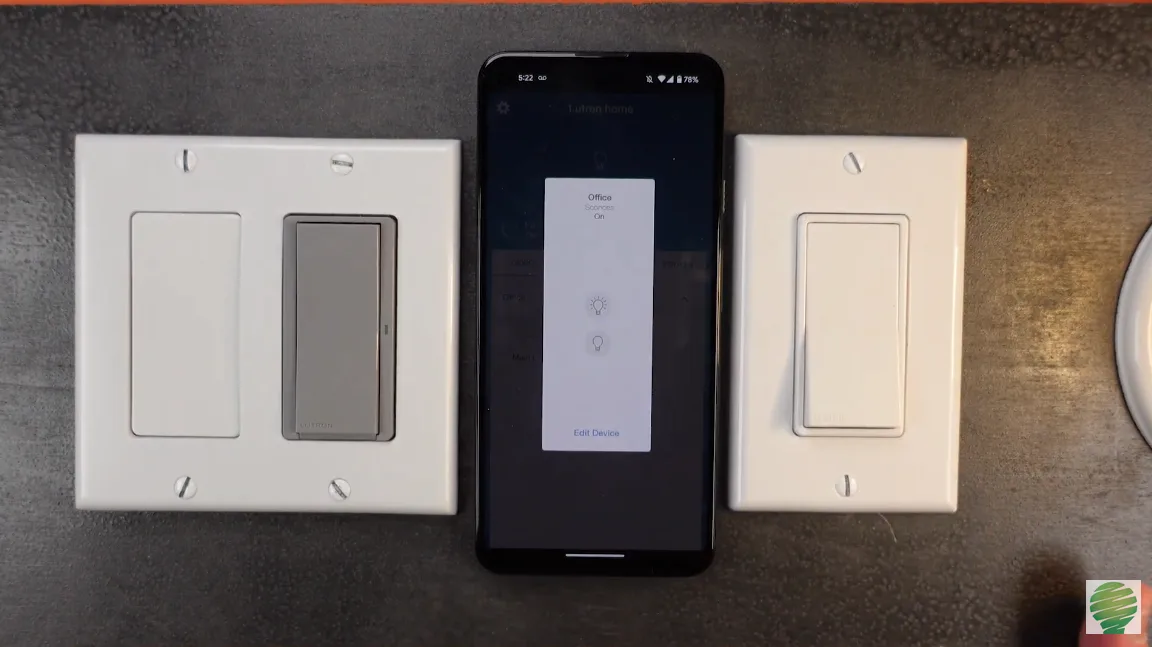
Connect the Lutron Claro switch to the app: Open the Lutron app and follow the instructions to connect your smart switch. It’s usually as simple as a few taps on your phone. This step links the switch to your app, enabling remote control.
Configure room and device settings: Once your switch is connected, set up your room and device preferences. You can name the room, add details about the switch, and make it all personalized. This makes it easy to control your lights the way you want.
Crafting Scenes and Schedules: Harness the full potential of your Lutron Claro Smart Switch by crafting scenes and schedules for automation. This advanced feature allows you to integrate your lighting into your daily routine.
Testing and Troubleshooting
Ensuring your Lutron Claro Smart Switch works flawlessly is essential. Here’s how to test, troubleshoot, and make adjustments:
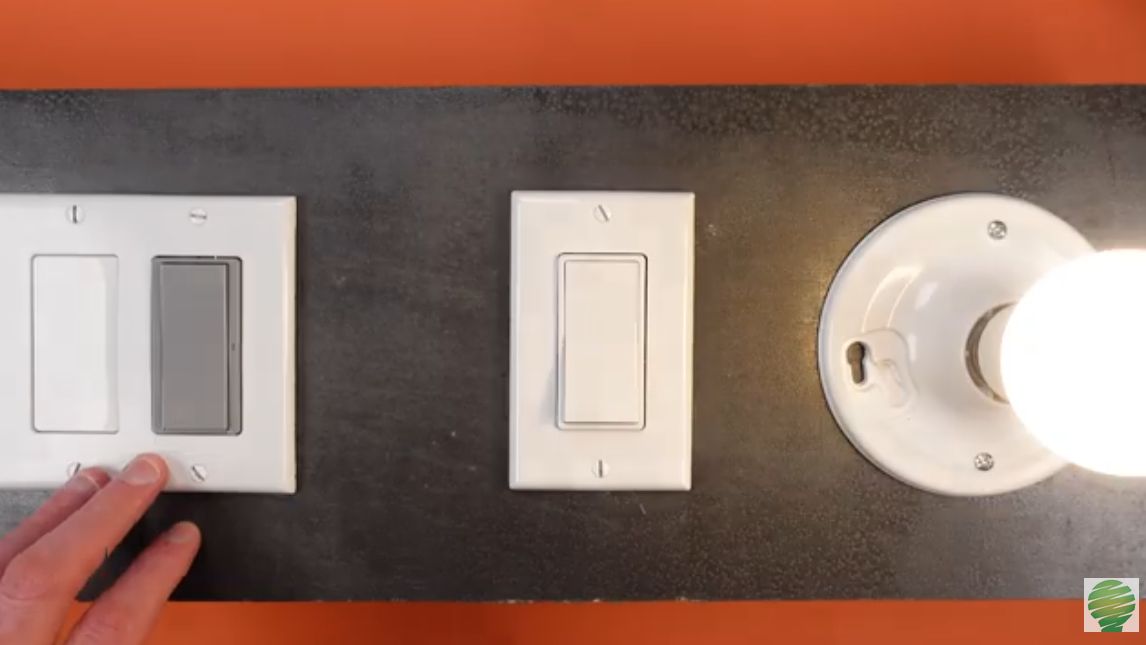
Verify the switch’s functionality: After installation, test the switch’s basic functions. Confirm it can turn the lights on and off as expected. Make sure any connected devices respond as intended.
Troubleshoot common issues: If you encounter problems, first check if the wiring is correctly done. Ensure the switch is properly seated in the electrical box. Examine the connections and see if the app is correctly configured. Common issues often relate to wiring errors or connectivity problems.
Make adjustments if necessary: If you identify any issues, don’t worry. Most issues can be resolved. Double-check the wiring, reset the switch if needed, and reconfigure the app settings. If issues persist, consult the user manual or contact Lutron support for further assistance.
Review
The Lutron Claro Smart Switch is a good product for modern homes. Its user-friendly design and integration with the Lutron app make it a must-have for anyone looking to add smart control to their lighting.
Installation is detailed and easily explained, even for beginners, with clear instructions provided. Once in place, the switch’s functionality is impeccable, offering convenient control over your lights from anywhere.
Scene creation and scheduling automation add a touch of luxury, allowing you to set the perfect mood for any occasion. While troubleshooting may be necessary in rare instances, the Lutron support system is always available.
Rating: 9 out of 10
Moreover, if you want a detailed guide, tap below:
FAQS
How do I connect my Lutron smart switch?
Connecting your Lutron smart switch is straightforward. If you have a Diva smart dimmer or a Claro smart switch, you can enhance its capabilities by adding Claro smart accessory switches.
These accessory switches enable you to create 3-way and multi-location setups. You can include up to 10 additional accessory switches to control your lights in a multi-location configuration.
What is the Claro smart switch?
The Claro smart switch is a stylish addition to your home’s smart lighting system. Designed to work with Caseta smart home setups, it maintains the elegant paddle style of existing Claro switches.
The Claro smart switch also features an LED indicator light to blend in with Caséta products while offering smart control of your lighting.
Does Lutron Claro work with Caseta?
Yes, Lutron Claro smart switches are compatible with Caséta smart home systems. They integrate with Caseta products.
This compatibility ensures that Lutron Claro smart switches can work within your Caseta-controlled environment.
Conclusion
- With clear instructions, even those new to smart devices can easily install this switch.
- Its compatibility with the Lutron app ensures effortless remote control, adding convenience.
- The switch’s ability to create scenes and schedules enables you to personalize your lighting experience.
- Control your lights from anywhere, making it easy to adapt to your daily routines.
- The switch operates flawlessly, providing consistent control over your lighting.
- Its sleek appearance adds a touch of modernity to your home decor.
- In addition to convenience, the switch contributes to energy savings by allowing you to manage your lighting more effectively.