Have you ever found yourself in a noisy environment and struggling to hear what someone is saying? Whether it’s a crowded coffee shop, a noisy restaurant, or a busy street, it can be difficult to hear conversations in loud settings.
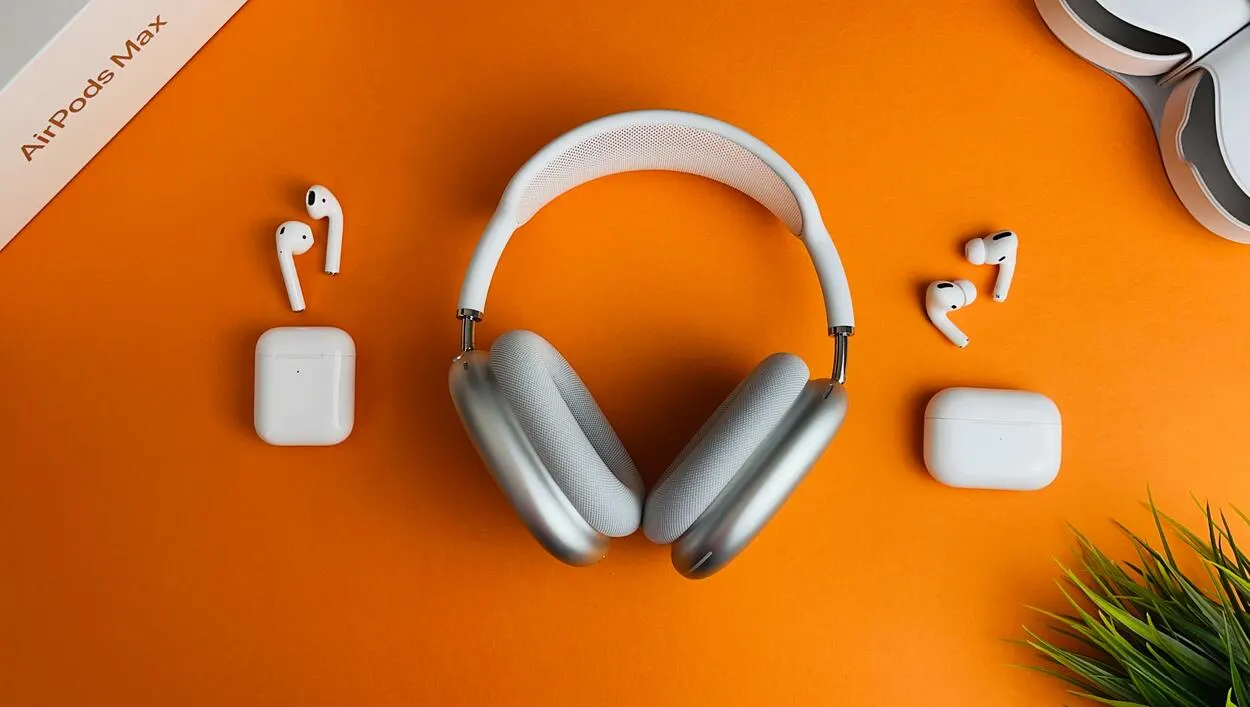
Thankfully, Apple’s Live Listen feature can help with that. Live Listen uses your iPhone, iPad, or iPod touch as a remote microphone to pick up sound and send it to your AirPods, allowing you to hear more clearly in noisy environments.
But what if you don’t have AirPods? Not to worry! In this post, we’ll show you how to use Live Listen without AirPods. We’ll walk you through the steps to enable Live Listen on your compatible device and connect to a remote microphone.
We’ll also cover how to adjust “Live Listen” settings to get the best experience possible. So, whether you’re hard of hearing, in a noisy environment, or just looking for a way to hear more clearly, keep reading to learn how to use Live Listen without AirPods.
By continuing to use this website you agree to our Terms of Use. If you don't agree to our Terms, you are not allowed to continue using this website.
What is Live Listen?

Live Listen is an accessibility feature that was introduced by Apple with iOS 12. It’s designed to help people who are hard of hearing or who need help hearing in noisy environments. Live Listen utilizes the microphone on your iPad, iPhone, or iPod touch to pick up sound and send it to your AirPods, allowing you to hear more clearly.
Live Listen can be used in a variety of settings, from crowded restaurants to outdoor events. The feature works by using your iPhone or other compatible devices as a remote microphone, which sends the sound directly to your AirPods. This means that you can hear conversations more clearly, even in noisy environments.
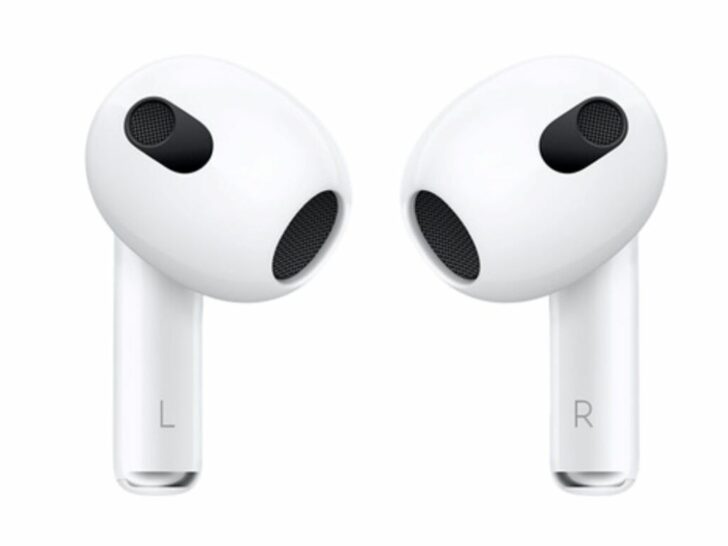
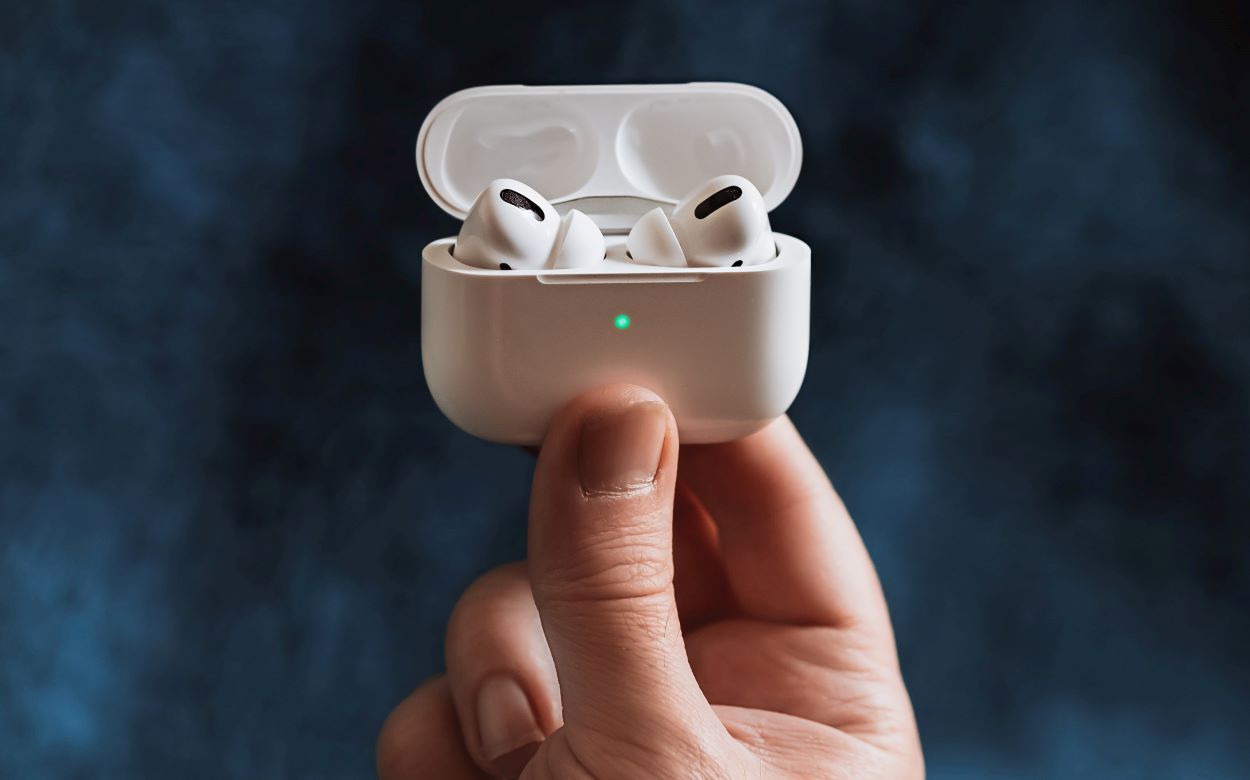
One important thing to note is that Live Listen requires compatible devices. This means that you’ll need an iPhone 7 or later, iPad (6th generation) or later, or iPod touch (7th generation) or later to use Live Listen. Additionally, you’ll need AirPods or other compatible headphones to use Live Listen with your device.
Overall, Live Listen is a powerful tool for anyone who needs help hearing in noisy environments. By using your iPhone or other compatible devices as a remote microphone, Live Listen makes it easier to hear conversations and enjoy the world around you.
Device Compatibility
| Devices | Compatibility |
| iPhone, iPad, or iPod touch running iOS 12 or later | Compatible out of the box |
| Other headphones or hearing aids that support Bluetooth or other wireless connectivity options | Check with the manufacturer for compatibility |
| Remote microphone or other audio input devices | Check with the manufacturer for compatibility and setup instructions |
Before you can use Live Listen without AirPods, you’ll need to make sure that your device is compatible with the feature. Live Listen is available on a variety of Apple devices, but not all devices support the feature.
To use Live Listen without AirPods, you’ll need an iPhone, iPad, or iPod touch that is running iOS 12 or later. Specifically, you’ll need an iPhone 7 or later, iPad (6th generation) or later, or iPod touch (7th generation) or later to use Live Listen.
Additionally, you’ll need to make sure that your device is updated to the latest version of iOS. To get updates, click on Settings > General > Software Update on your gadget. If there is an update, follow the on-screen commands to download and install it.
It’s also important to note that not all headphones or earbuds are compatible with Live Listen. While AirPods are the most popular option for using Live Listen, there are other headphones that are compatible with the feature. Some third-party headphones, such as Bose QuietComfort 35 and Beats Solo3 Wireless, support Live Listen.
To use Live Listen with a third-party headphone, you’ll need to connect the headphone to your device via Bluetooth. Once connected, you should be able to enable Live Listen and start using the feature.
Overall, Live Listen without AirPods is a great option for anyone who needs help hearing in noisy environments. As long as you have a compatible device and headphones, you can take advantage of this powerful accessibility feature.
Enabling Live Listen
To use Live Listen without AirPods, you’ll need to first enable the feature on your device. Here’s how to do it:
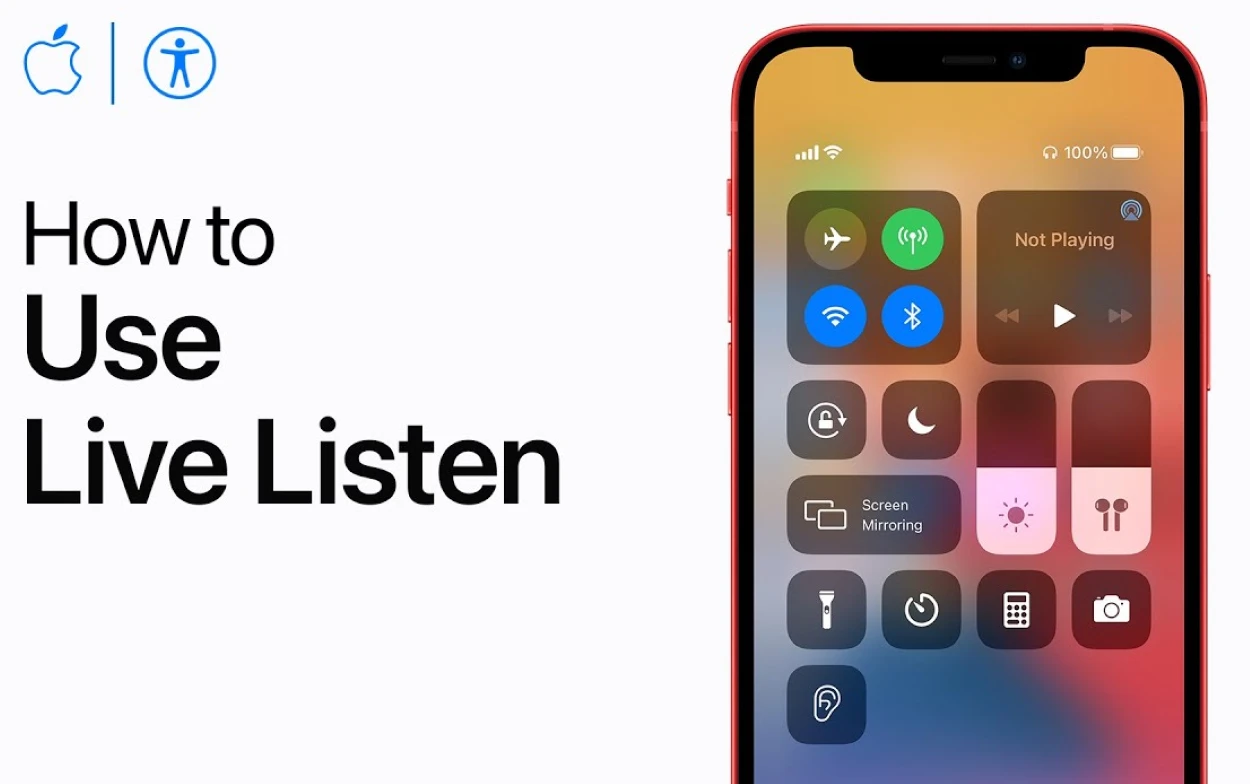
- Open the Control Center on your device. On an iPhone or iPod touch, swipe up from the bottom of the screen. Whereas on an iPad, slide down from the right corner of the screen.
- Tap the “hearing aid” icon. This icon looks like an ear with sound waves coming out of it.
- If this is your first time using Live Listen, you may be prompted to add the feature to your Control Center. If so, tap “Customize Controls” and then tap the “+” next to “Hearing.”
- Tap “Live Listen” to enable the feature.
- Once Live Listen is enabled, you’ll need to connect to a remote microphone to start using the feature without AirPods.
It’s worth noting that you can also enable Live Listen through the Settings app on your device. To do so, go to Settings > Control Center > Customize Controls, and then tap the “+” next to “Hearing.” Once you’ve done this, you can access Live Listen by opening the Control Center and tapping the hearing aid icon.
Overall, enabling Live Listen without AirPods is a quick and easy process. Once you’ve enabled the feature, you can start using it to hear more clearly in noisy environments.
Connecting to a Remote Microphone
To use Live Listen without AirPods, you’ll need to connect to a remote microphone. A remote microphone is any device that can pick up sound and send it to your iPhone, iPad, or iPod touch.
This could be a standalone microphone, a hearing aid with a built-in microphone, or even another iPhone or iPad. To connect to a remote microphone, follow these steps:
- Make sure that your remote microphone is turned on and in range of your device.
- Open the Control Center on your device.
- Tap the “hearing aid” icon.
- Tap the name of your remote microphone under the “Available Devices” section.
- If prompted, enter a passcode to connect to the remote microphone.
Once you’re connected to a remote microphone, you should be able to hear the sound from the microphone through your headphones. You can adjust the volume of the sound by using the volume buttons on your device or by adjusting the volume in the Control Center.
It’s worth noting that not all remote microphones are compatible with Live Listen. Some hearing aids and other devices may require additional setup or configuration before they can be used with Live Listen.
Overall, connecting to a remote microphone is an important step in using Live Listen without AirPods. Once you’re connected, you can start using the feature to hear more clearly in noisy environments.
Adjusting “Live Listen” Settings
Once you’ve connected to a remote microphone, you may want to adjust the settings for Live Listen to optimize your listening experience. Here are some of the settings that you can alter:
- Microphone: If you have multiple microphones connected to your device, you can choose which one to use with Live Listen. To do this, go to Settings > Accessibility > Hearing Devices, and then tap the name of your remote microphone. Now you can choose the microphone you’d like to use.
- Volume: You can adjust the volume of the sound coming from your remote microphone by using the volume buttons on your device or by adjusting the volume in the Control Center.
- Noise Reduction: Live Listen includes a noise reduction feature that can help reduce background noise and make it easier to hear conversations. To enable this feature, go to Settings > Accessibility > Hearing Devices, and then tap the name of your remote microphone. From here, you can switch on or off the “Noise Reduction” switch.
- Transparency: Transparency is another feature that can help you hear more clearly in noisy environments. This feature uses the device’s microphone to pick up sounds around you and amplify them. To enable transparency, go to Settings > Accessibility > AirPods, and then toggle on the “Transparency” switch.
- Equalizer: The Live Listen feature also includes an equalizer that can help you adjust the balance of different frequencies to better suit your hearing needs. To access the equalizer, go to Settings > Accessibility > Audio/Visual, and then tap “Audio/Visual Accommodations.” Now, adjust the equalizer settings according to your preference.
Overall, adjusting “Live Listen” settings can help you get the most out of the feature and improve your listening experience.
By tweaking the settings to suit your needs, you can enjoy clearer and more comfortable sound in any environment.
FAQs
Is Live Listen only available on Apple devices?
Yes, Live Listen is a feature that’s built into Apple devices, including iPhones, iPads, and iPods. However, you can use Live Listen with other headphones or hearing aids that support Bluetooth or other wireless connectivity options.
Can I use Live Listen with any remote microphone?
No, not all remote microphones are compatible with Live Listen. Some hearing aids and other devices may require additional setup or configuration before they can be used with Live Listen. If you’re not sure whether your remote microphone is compatible with Live Listen, you can check with the manufacturer or contact Apple Support for assistance.
Does “Live Listen” work in noisy environments?
Live Listen includes a noise reduction feature that can help reduce background noise and make it easier to hear conversations. Additionally, the transparency feature can pick up sounds around you and amplify them, making it easier to hear in noisy environments.
Can I use Live Listen to spy on people?
No, Live Listen is an accessibility feature designed to help people with hearing impairments hear more clearly. It’s not intended for spying or eavesdropping purposes. Using Live Listen to spy on people without their consent is illegal and unethical.
Conclusion
- Live Listen is a powerful accessibility feature that can help people with hearing impairments hear more clearly in noisy environments.
- While Live Listen is often associated with Apple’s AirPods, it’s also possible to use the feature with other headphones or hearing aids that support Bluetooth or other wireless connectivity options.
- We’ve outlined the steps you need to follow to use Live Listen without AirPods. From checking device compatibility to connecting to a remote microphone and adjusting settings, we’ve covered everything you need to know to get started with the feature.
- We hope this guide has been helpful and informative and that you’re now able to take advantage of Live Listen to improve your hearing and communication abilities.