Has your Sharp TV ever gone black, leaving you wondering what went wrong? It’s a frustrating experience, but fortunately, there’s a simple solution: resetting your TV.
Resetting your Sharp TV is a straightforward process that can help fix a range of issues, from a black screen to problems with the sound or remote control.
In this article, we’ll explore how to reset your Sharp TV step-by-step, so you can get back to watching your favorite shows and movies in no time. So let’s dive in and learn how to reset your Sharp TV when the screen goes black!
By continuing to use this website you agree to our Terms of Use. If you don't agree to our Terms, you are not allowed to continue using this website.
Common Causes of Black Screens on Sharp TV

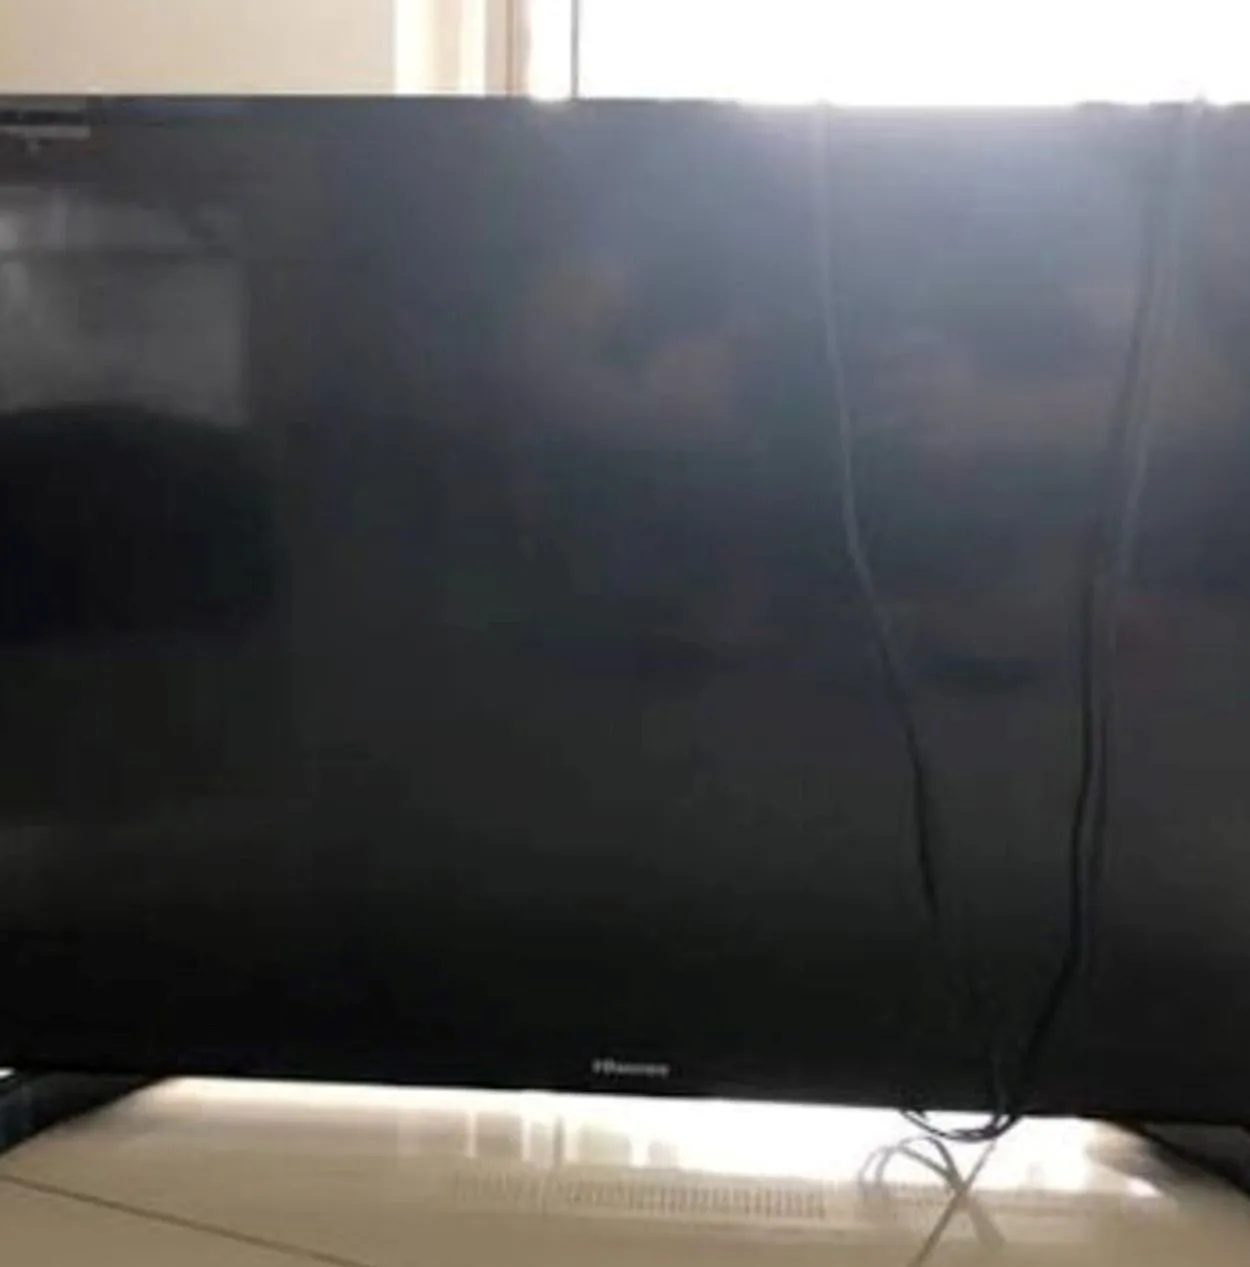
One of the most frustrating issues that can occur with television is a black screen. If you’re experiencing this problem with your Sharp TV, it can be caused by a number of different factors.
In this section, we’ll explore some of the most common causes of black screens on Sharp TVs:
- Power supply issues: One of the most common causes of black screens on Sharp TVs is a problem with the power supply. This can be caused by a number of different factors, such as a blown fuse, a malfunctioning power supply, or a problem with the electrical outlet. To troubleshoot this issue, check to make sure that the TV is properly plugged in and that the outlet is functioning properly. If the problem persists, you may need to replace the power supply or call a professional for assistance.
- HDMI/cable connection problems: Another common cause of black screens on Sharp TVs is a problem with the HDMI or cable connections. This can be caused by loose or damaged cables or by a problem with the HDMI port on the TV. To troubleshoot this issue, check to make sure that all of the cables are securely connected and that there are no visible signs of damage. If the problem persists, you may need to replace the cables or call a professional for assistance.
- Remote control issues: If you’re still experiencing black screens on your Sharp TV, it could be due to a problem with the remote control. A dead battery, malfunctioning remote control, or faulty remote control sensor on the TV could all be the culprit. To troubleshoot this issue, start by checking the remote control’s functionality and battery life. Ensure that the batteries are fresh and that the remote control is functioning correctly.
- Software glitches: Finally, black screens on Sharp TVs can also be caused by software glitches. This can be caused by a problem with the TV’s firmware or by a problem with the software on an external device that is connected to the TV. To troubleshoot this issue, check for software updates for both the TV and any external devices that are connected to it. If the problem persists, you may need to call a professional for assistance.
By understanding the common causes of black screens on Sharp TVs, you’ll be better equipped to troubleshoot and resolve the issue. Remember, if the problem persists, it’s always best to call a professional for assistance.
Unplug Your TV

The first step in resetting your Sharp TV is to unplug it from the wall outlet and any other connected devices (like cable boxes or gaming consoles). This will ensure that all power sources are completely disconnected from the television. Make sure you wait several minutes before plugging everything back in, as this will help clear any residual power from the system.
Connect Devices Back Up
Once you’ve waited for several minutes, start by connecting all devices back up one at a time. This includes any gaming consoles or external audio/visual devices connected through HDMI ports or other cables. Make sure they are securely plugged into their respective ports on the television, and then turn them on one at a time.
If possible, try connecting each device directly to the wall instead of using an extension cord or surge protector—this could be contributing to the problem if those items aren’t working correctly and need replacing. Once all devices have been reconnected, double-check that all cables are secure and plugged into their correct ports.
Power On Your TV
Let’s power up your Sharp TV and see what happens! To start, press the power button once and quickly release it to initiate the bootup process without causing any circuit overload.
If the TV doesn’t turn on after the first press, don’t worry! Try pressing the power button twice quickly, and that should do the trick. But first, make sure you’re using the correct remote for your Sharp TV model. Each model comes with its own remote, with different buttons and functions, so ensure you’re using the right one.
If pressing the power button doesn’t work, try unplugging your TV manually and plugging it back in while holding down the power button for 10 seconds. This will initiate a full factory reset for most Sharp TV models.
Once your TV powers on successfully, test out some features like changing channels or adjusting volume levels. If they still don’t work, it’s time to call in an expert for help with further troubleshooting steps or to replace any faulty components.
Run Diagnostics Tests
Congratulations, your Sharp TV is up and running! But just to be on the safe side, it’s a good idea to run diagnostics tests to ensure everything is working correctly and to prevent any future problems.
To access the diagnostics tests, go to the menu settings by pressing either “Menu” or “Settings,” depending on your Sharp TV model. Look for an option labeled “Diagnostics” or “System Test.”
Selecting this option will provide various tests to analyze different areas within your TV’s software. These tests can include picture quality, sound levels, and more, which can identify potential issues before they become more significant problems down the road. Any errors encountered during the tests will be displayed clearly, so take note of them before continuing.
After running the diagnostics tests and making any necessary changes, save your settings before exiting the menu settings. This way, you’ll have a record of any potential issues, giving you a heads-up if anything goes wrong in the future.
How to Reset Your Sharp TV to its Original Settings
| Steps | Description |
| 1 | Access the service menu |
| 2 | Locate the reset option |
| 3 | Confirm the reset |
| 4 | Go through the initial setup process |
If you’re experiencing problems with your Sharp TV and basic troubleshooting steps have not resolved the issue, you may need to reset your TV to its original settings. This can help to restore the TV to its factory defaults and can often fix software glitches or other issues that may be causing problems. In this section, we’ll go over the steps for resetting your Sharp TV to its original settings.
- Accessing the service menu: The first step in resetting your Sharp TV to its original settings is to access the service menu. To do this, you’ll need to press a combination of buttons on your remote control. The exact combination of buttons will vary depending on your TV model, so you’ll need to consult your TV’s user manual for instructions.
- Finding the reset option: Once you’ve accessed the service menu, you’ll need to navigate to the option for resetting the TV to its original settings. This option may be located in a different place depending on your TV model, so you’ll need to consult your TV’s user manual for instructions.
- Confirming the reset: Once you’ve located the reset option, you’ll need to confirm that you want to reset the TV to its original settings. This may involve pressing a specific button on your remote control or selecting a menu option. Be sure to read the instructions carefully to ensure that you are resetting the TV to its original settings and not something else.
- Go through the initial setup process: After the reset, you may need to go through the initial setup process again, such as configuring your TV settings, connecting to Wi-Fi, and setting up your TV channels.
Resetting your Sharp TV to its original settings can be a helpful troubleshooting step if you’re experiencing problems with your TV.
However, be aware that this will erase all of your TV’s settings and customizations, so you’ll need to set them up again after the reset.
If the problem persists after the reset, it may be best to call a professional for assistance.

FAQs
Will resetting my Sharp TV erase all of my settings and customizations?
Yes, resetting your Sharp TV to its original settings will erase all of your TV’s settings and customizations, so you’ll need to set them up again after the reset.
Is it possible to fix a black screen issue caused by a power supply problem?
Yes, it’s possible to fix a black screen issue caused by a power supply problem. You can check the power supply, replace the power supply or call a professional for assistance.
Can a black screen issue be caused by a problem with the remote control?
Yes, a black screen issue can be caused by a problem with the remote control, such as a dead battery, a malfunctioning remote control, or a problem with the remote control sensor on the TV.
Is it always necessary to call a professional for resolving a black screen issue?
No, it’s not always necessary to call a professional for resolving a black screen issue. Many times, the problem can be resolved with basic troubleshooting steps or by resetting the TV to its original settings. However, if the problem persists after trying these steps, it may be best to call a professional for assistance.
Conclusion
- In this blog post, we’ve discussed the common causes of black screens on Sharp TVs and provided troubleshooting steps for resolving the issue.
- We’ve also covered how to reset your Sharp TV to its original settings as an advanced troubleshooting step.
- It’s important to note that the black screen on Sharp TV can be caused by various reasons, so it is always a good idea to try the basic troubleshooting steps before proceeding to the advanced ones.
- These basic troubleshooting steps include checking the power supply, HDMI/cable connections, remote control, and restarting the TV.
- If you’ve followed the steps outlined in this post and the problem persists, it may be best to contact a professional for assistance.
- Additionally, it’s always a good idea to check for software updates for both the TV and any external devices that are connected to it.
Other Articles
- Resetting Your Bose Portable Home Speaker: A Step-by-Step Guide
- AT&T Internet Equipment Fee (Why It’s Charged)
- SimpliSafe Battery Replacement (All You Need to Know!)

