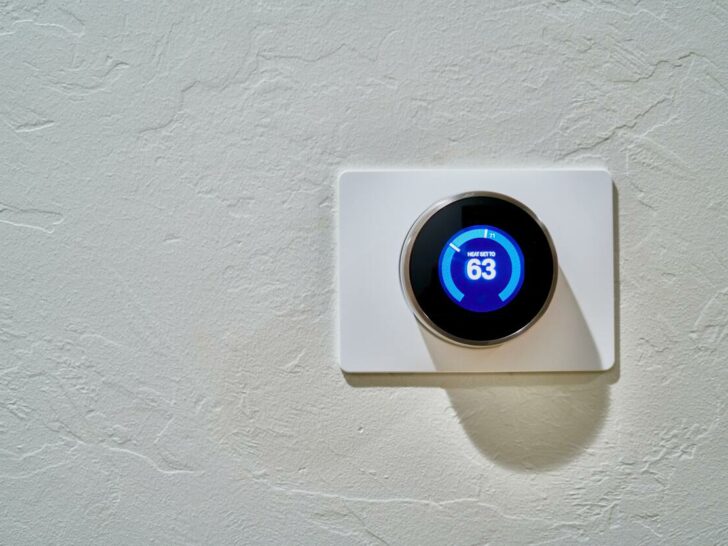

If you own a Nest thermostat and you’re looking to make it work with HomeKit, then you’ve come to the right place.
The process might seem daunting at first, but it really isn’t that bad once you know how to do it. Once you finish the steps below, you’ll be able to control your Nest thermostat using Siri voice commands and Apple HomeKit.
This means that you’ll be able to adjust the temperature in your home while on the go and also view detailed data on temperature trends at any time.
The table below outlines the solution to this problem:
| What to do? | Why do it? |
| Setup Nest Account | The first thing you must do after unpacking your Nest thermostat is to register for a new account or log in if you already have one. It will only take a short while. |
| Add iCloud Security Code | This can save a ton of frustration in case anything happens and you need an emergency password! |
| Create Automation | These will create a number of triggers for various occasions that you require in order to feel at home. For instance, heating the house on frigid mornings when it’s chilly outdoors, or turning off all the lights while everyone is gone. |
HomeKit has been touted as the next big thing, but many people are still not sure if it can really live up to the hype and become an integral part of their connected lives.
Since you’re reading this article, it means that you’re one of those people who would like to see HomeKit in action, and the best way to do that would be to connect your Nest Thermostat with HomeKit.
By continuing to use this website you agree to our Terms of Use. If you don't agree to our Terms, you are not allowed to continue using this website.
1. Set up Nest Account
When you first unbox your Nest thermostat, the very first thing you need to do is sign up for a new account or log in if you already have one. It will take only a few minutes.
When I was setting up my account, I was asked what type of heating and cooling system I had so that the product could be configured appropriately. After verifying which type of HVAC system I had, the installation instructions were easy to follow.
Here are some steps for setting up an account:
- First, choose your email address.
- Then enter the password and confirm it.
- Next, enter your home address where you would like to set up this device.
- Choose your city from the list provided (if applicable).
- Enter your phone number (Nest can send you alerts when anything needs attention).
- Select whether or not this device should show up on your energy bill.
- Sign in with Google if desired (I selected yes).
- Agree to terms of service by clicking I Agree.
2. Add iCloud Security Code
Open Settings and go to iCloud > Setup iCloud Keychain. Enter the security code when prompted, then click Continue.
Repeat this process in the other two apps if you have them installed. You may also want to set up iCloud Keychain on all your devices that will be on HomeKit, so they’re automatically backed up.
This can also save a ton of frustration in case anything happens and you need an emergency password!

3. Add the Nest Thermostat to your HomeKit system
Before you follow the steps given below, keep in mind that you connect your Nest to HomeKit that are Matter compatible or Nest Thermostat made in year 2020 onwards. To connect your Nest thermostat with HomeKit:
- Open the Nest app on your Apple device and sign in with your Nest account.
- Tap on the Settings icon in the top right corner of the screen.
- Scroll down and tap on Works with Nest.
- Tap on the toggle switch next to HomeKit to enable it.
- Now follow the commands shown on the screen to complete the process.
4. Create Automation
This part of the process can take a while, and you may need to tweak it often. These will set up various triggers for different events that you need to feel comfortable at home.
For example, turning off all of the lights when everyone is gone or heating up the house on cool mornings when it’s chilly outside.
Search for ‘Lights’ in Apple’s Home app. This will search for all lights that are plugged into a power source and controlled by the switch.
Click on the plus sign, which is in the upper right-hand corner. Name this Automation something easy like Nighttime Lights Off. Tap Add Action and then choose After sunset as well as Select Off from the list below.
Next, select which days of the week this should happen – I chose Monday through Friday since my schedule doesn’t change on weekends.
At last, tap Save in the upper right-hand corner. Now repeat this process for any other light switches you want to be automated!
5. Test Automation
Easily make your thermostat a part of automation, scenes, and apps in the Control Center.
First of all, download the latest version of the Nest App. Now, enable your new phone as a trusted device by following these steps: Open the Settings app on your iPhone or iPad. Select Face ID & Passcode or Touch ID & Passcode (depending on which you have).
After that, scroll down and tap on Trusted Devices. Now click on Add a Device at the top right corner of the screen. Enter the passcode for your Nest account if prompted. If successful, open the Nest app from this same device and click Allow when prompted.
Next, click on Automation. Then scroll down and tap on Scenes. Choose to Create New Scene. Select Custom. Change Name to Evening. Click on Edit Details. Select Turn On All Devices. Tap Set Value. Increase Temperature, then lower Brightness. Set Auto-Away Time. Now save all your settings.
Check that your settings are what you want them to be. Press Continue. Scroll down and tap Apps. Select Alexa. Click Authorize.
With that completed, you can now use Alexa’s voice commands like Alexa, tell Siri I’m home or Alexa, tell Siri it’s too hot.

6. Restore iCloud Security Code
Before you proceed any further, you will need to restore the iCloud Security Code for this device. On your iPhone, go to Settings and tap General > Reset. Tap Erase All Content and Settings.
Then from the popup menu, select Restore from iCloud Backup. Follow the prompts to enter a password (the one you used for your Apple ID) and tap Next when prompted.
Select either of the backup sources that appear on-screen, then tap Next, followed by OK on the popup confirming that all data will be erased during the process.
Your current iCloud Security Code is not available at this time, so in order for the restore process to continue, you’ll need a new code.
What are some of the benefits of using HomeKit-enabled devices?
HomeKit-enabled devices offer a number of benefits, including increased security, convenience, and integration with other smart home devices. For example, because HomeKit uses end-to-end encryption, your data is more secure than it would be with other types of smart home systems.
Plus, with HomeKit, you can use Siri to control your devices, which can be more convenient than using a separate app.
And finally, HomeKit-enabled devices can often be controlled by other smart home devices, such as the Apple TV, meaning you don’t need to have multiple apps to control all of your devices.
What does connecting the Nest Thermostat with HomeKit allow you to do?
Once you connect your Nest Thermostat with HomeKit, you’ll be able to use Apple’s Home app to control it. This means you can adjust the temperature, set schedules, and more using your iPhone or iPad.
Plus, with Siri support, you can ask Siri to turn up the heat or turn off the AC without even having to open the app.
How to Connect Nest Thermostat With HomeKit Regardless of Wifi or Ethernet Connection
If you’re looking to connect your Nest Thermostat with HomeKit, there are a few things you need to know. Regardless of whether you have a WiFi or Ethernet connection, you can follow the steps below to get everything set up.
The first thing you need to do is make sure that your Nest Thermostat is updated to the latest software version. To do this, open the Nest app and go to Settings > Update Software.
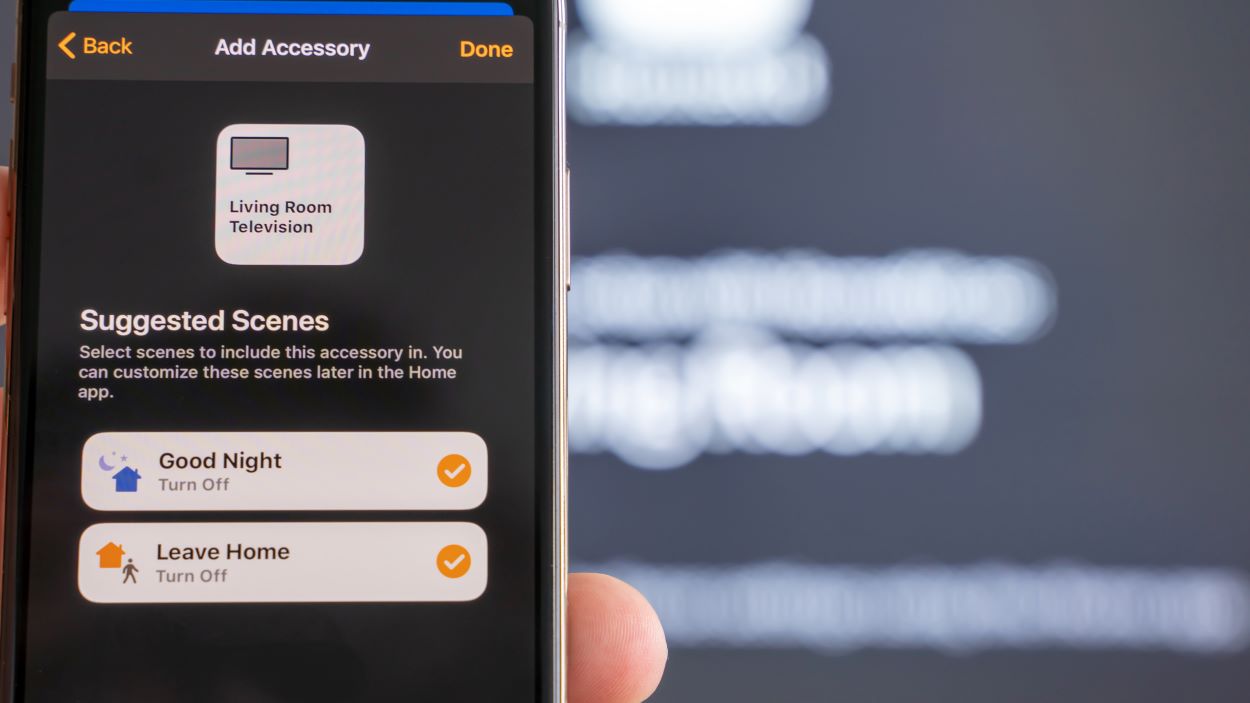
Next, you’ll need to add the Nest Thermostat to your HomeKit system. To do this, open the Home app and tap on the “+” icon in the top right corner. Then, select “Add Accessory” and use your iPhone or iPad’s camera to scan the eight-digit HomeKit code that’s located on the back of your Nest Thermostat.
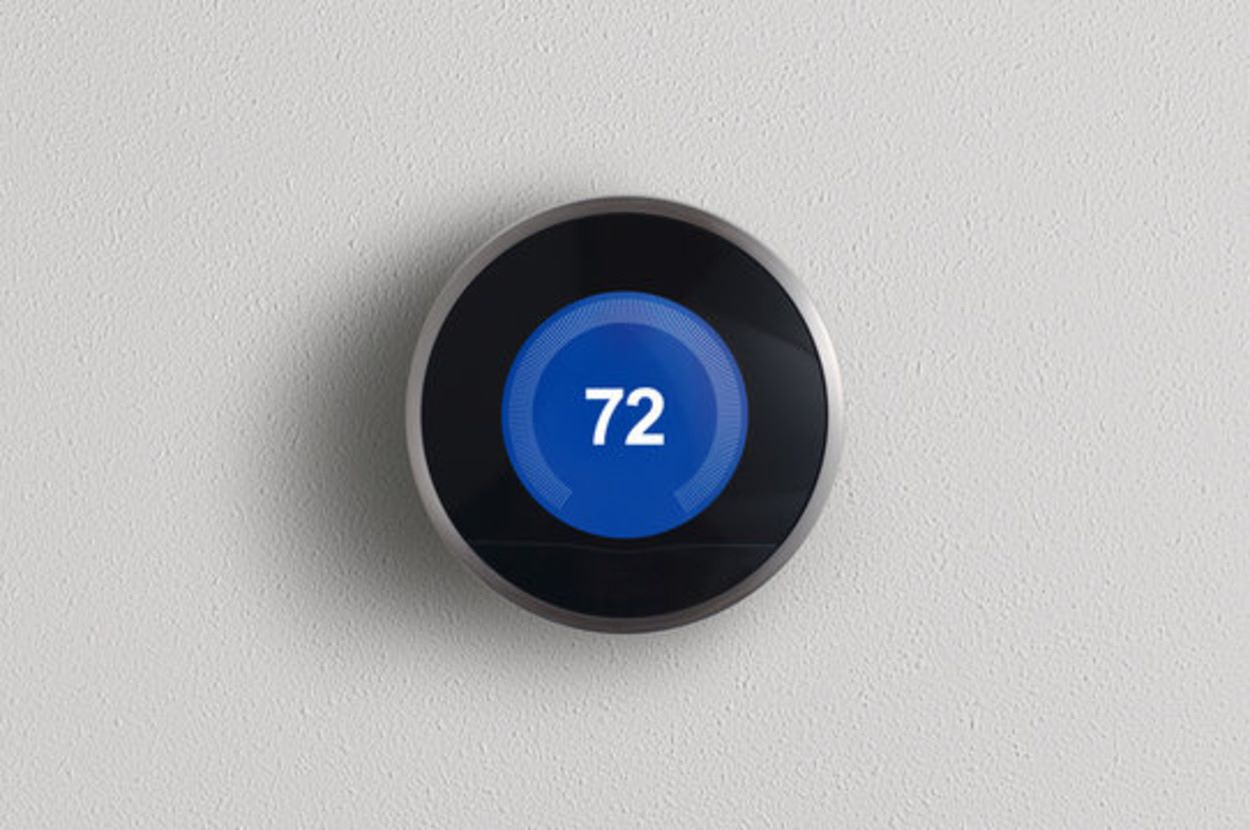
Once your Nest Thermostat has been added to HomeKit, you can start controlling it using Siri commands or through the Home app. To adjust the temperature using Siri, simply say something like, “Hey Siri, set my thermostat to 72 degrees.” And to adjust the temperature using the Home app, simply tap on the Nest Thermostat tile and use the slider to set your desired temperature.
Who is currently behind the Nest Thermostat?
Nest Thermostat is currently developed and maintained by a team of engineers at Google. The team is constantly working on improving the Nest Thermostat and adding new features.
What are some of the features of the latest Nest Thermostat?
The latest Nest Thermostat comes with a number of new features, including:
- A new design that’s sleeker and more compact than the previous model
- An improved user interface that is easier to use and navigate
- Enhanced energy savings capabilities
- The ability to control Nest Thermostat remotely using the Nest app
FAQs
Is it possible to take my Nest thermostat along with me when I move?
Answer: To keep your house pleasant and save energy, Google Nest thermostats use the activity and temperature data of their location. Therefore, even if your thermostat is installed on a stand, you should leave it there. Unless you need to troubleshoot, you shouldn’t usually move it.
What does in 2+ hours mean on Nest?
Answer: Five-minute intervals are used by your Nest thermostat to estimate the Time-to-Temperature. The display will say “less than ten minutes” when there are less than ten minutes left before the temperature you’ve chosen is reached. Nest will display “IN 2+ HR” if the time is greater than two hours.
Can you manually operate a Nest thermostat?
Answer: Choose your thermostat from the home screen of the Nest app. “Manual” will appear on the thermostat display. To stop manual heating, select “Manual”.
How many devices can HomeKit support?
Answer: Only 150 different accessories (aids) are permitted per bridge according to the HomeKit Accessory Protocol Specification. Keep this in mind when setting up the filter (s). It’s feasible to build numerous bridges if you want to use more than the 150 allowed devices.
Are they discontinuing Nest thermostats?
Google discontinued its Nest Secure in 2020. However, its devices were still updated and continued to work until November 2022.
Nest Secure was Google’s home security system that has a range of devices that include thermostats. Since its discontinuation in 2020, Google had only rolled out security updates and no longer added new features or models.
Does Nest lower your bill?
Smart thermostats like Nest can save you up to $140 a year in electricity consumption.
This is because Nest allows you more control of your appliances by giving you the option to set timers and temperatures. Compared to houses that have no smart thermostats, Nest can lower your bill by optimizing your heating and cooling.
Conclusion
- Devices with HomeKit support have a number of advantages, such as improved security, convenience, and compatibility with other smart home gadgets.
- You can connect your Nest thermostat with HomeKit by launching the Nest app and signing in using your Nest credentials. Then, in the top right corner of the screen, tap the Settings icon. Click Works with Nest after scrolling down. Toggle HomeKit on afterwards by tapping the button next to it. To complete the procedure, follow the remaining on-screen directions.
- The latest Nest Thermostat comes with a number of new features, such as Enhanced energy savings capabilities and the ability to control the Nest Thermostat remotely using the Nest app, which makes it worth buying.
Other Articles
- Aqara TVOC Sensor: How to Set Up With Siri and HomeKit?
- Is Apple AirTag Waterproof?
- How Long Do Apple Air Tag Batteries Last?
Click here to view the Visual Story Version of this Article.